
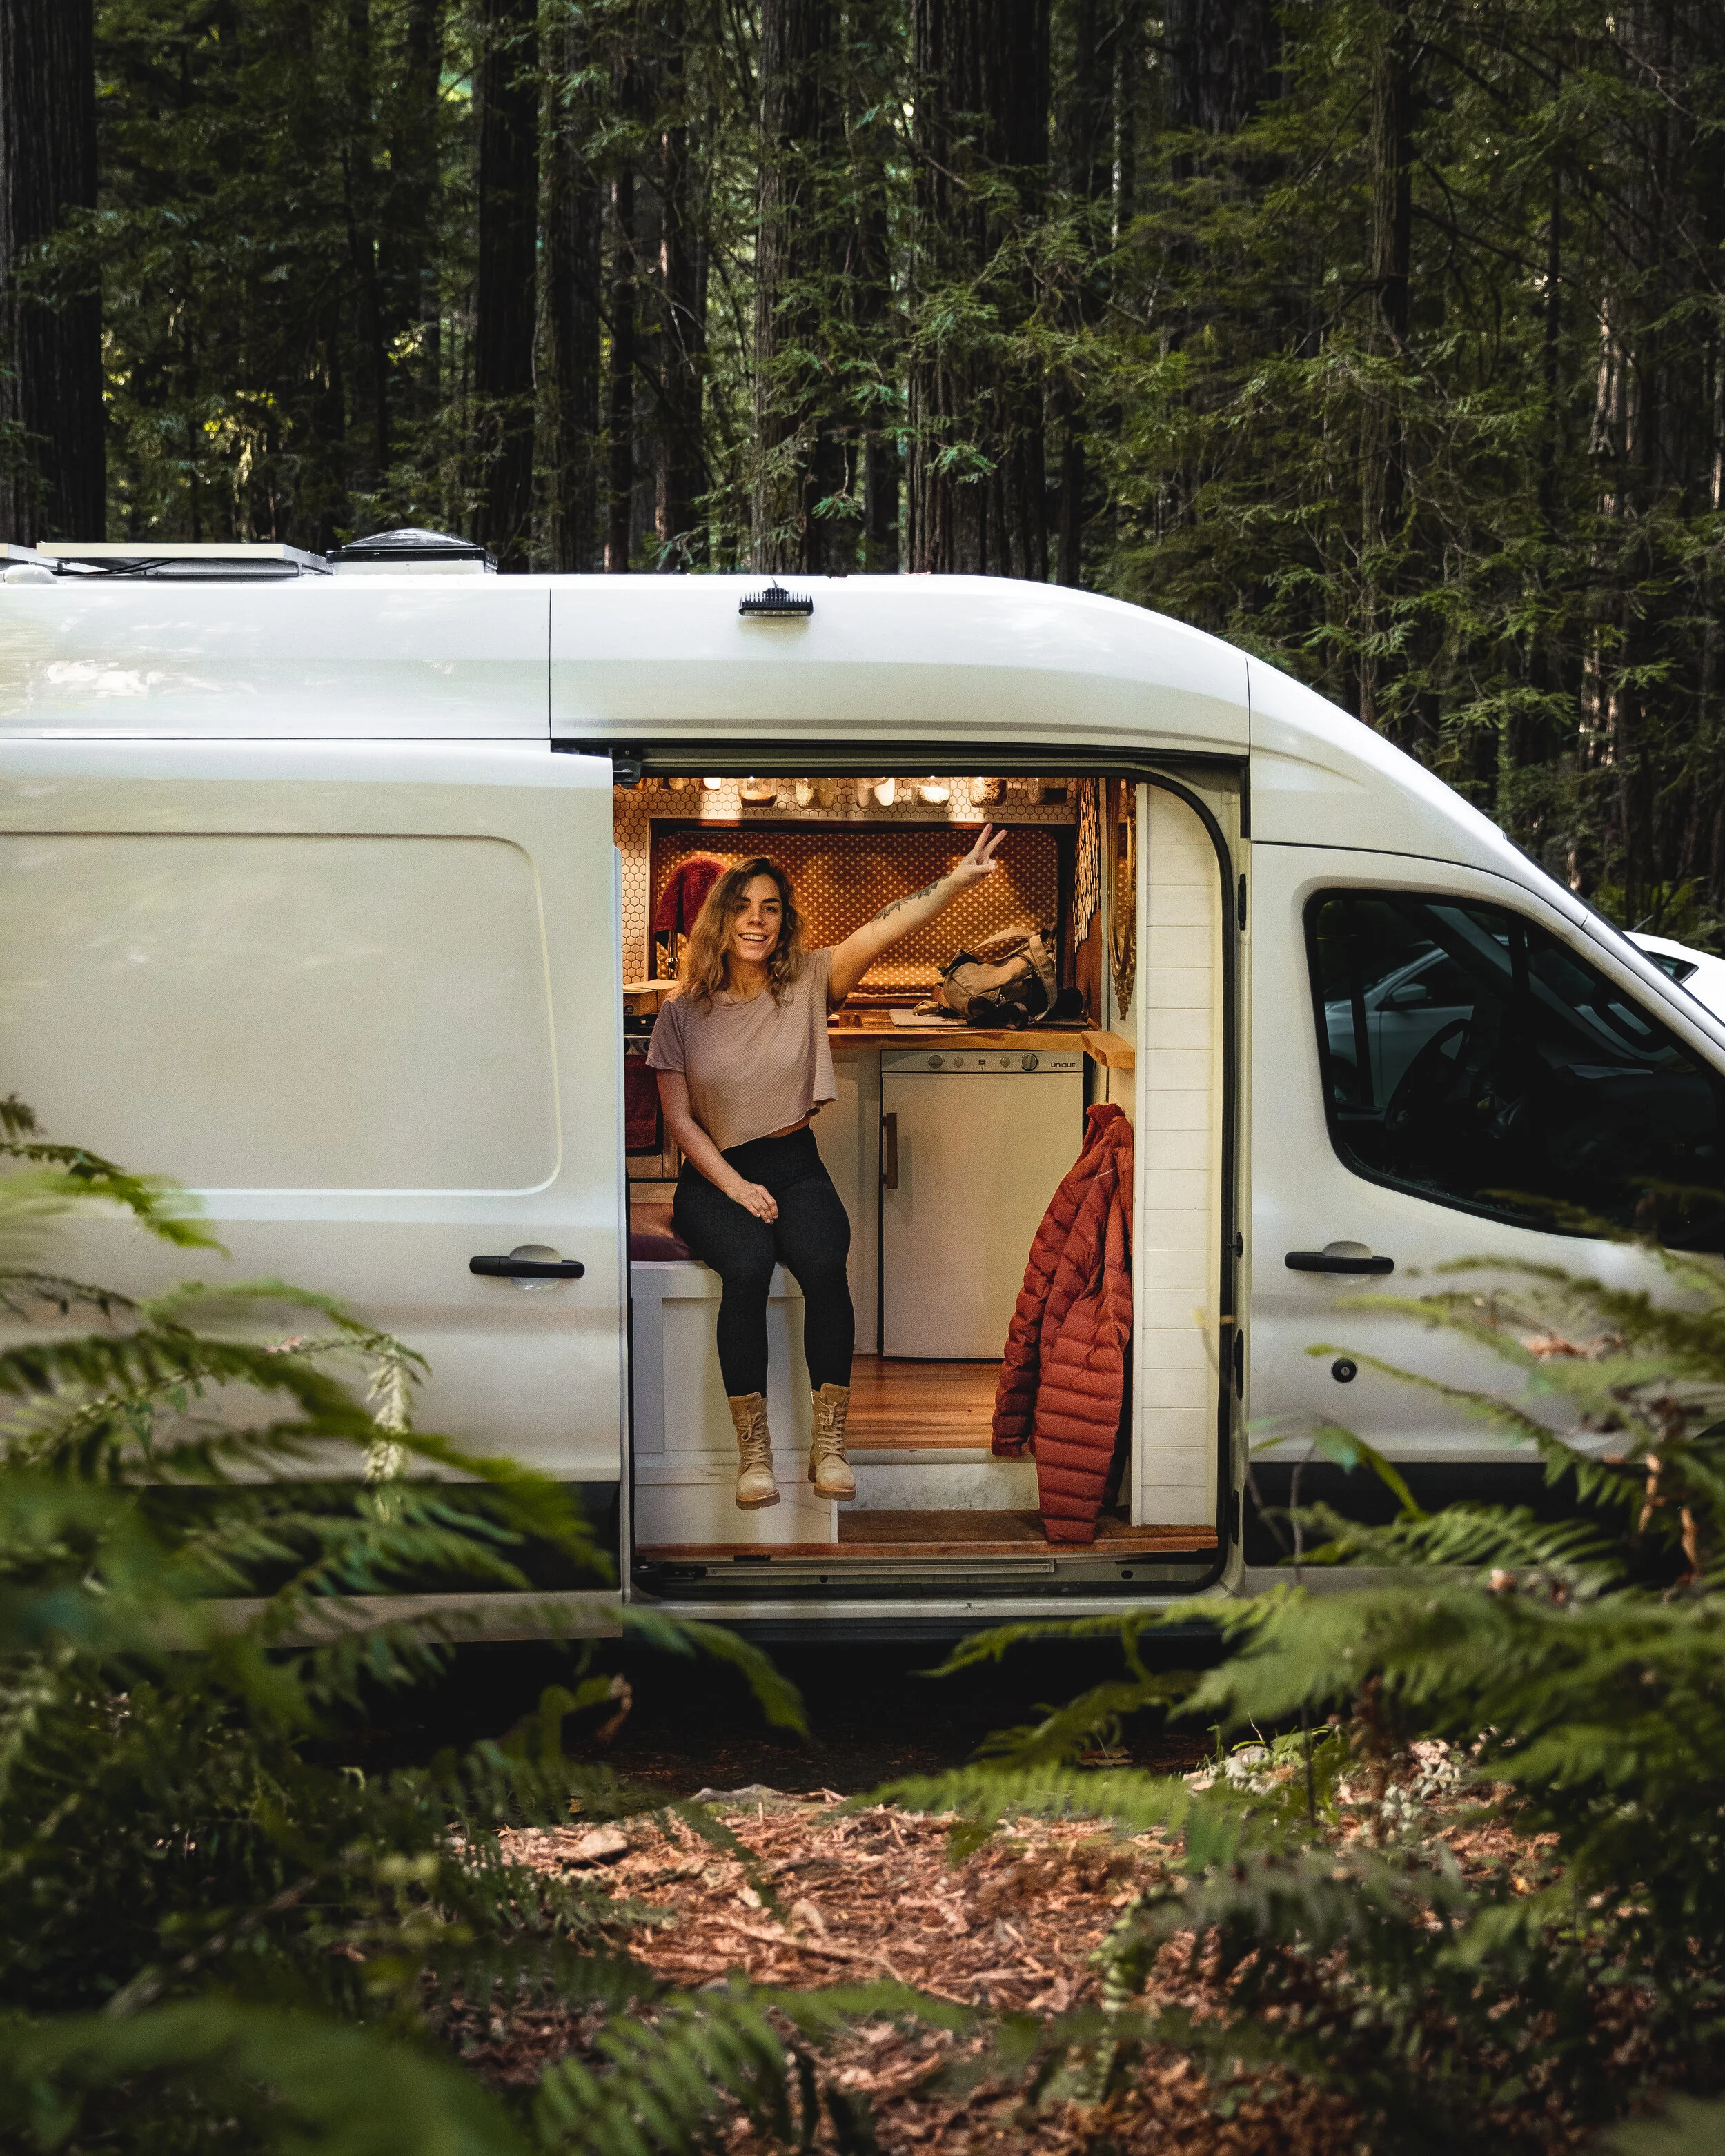
Ford Transit Van Conversion
There is so much I want to talk about when it comes to building this van from scratch, and in this post, there will be all the juicy details of this van conversion so that you can plan your own build! A little back story, I lived in a van in New Zealand for 2 years, got very comfortable, and fell in love with the lifestyle. So when I decided I wanted to build a van in Canada, I knew exactly the design and materials I wanted to use because of my past experience. (Although I did still do a lot of research). My family helped me out a lot with this build because of their knowledge and expertise. I wouldn’t have been able to do it (this well) without them! Thanks for following along and reading about my van conversion.
To save you time, anything UNDERLINED and BOLD is a clickable link to the product.

Details
Van: 2017 Ford Transit LWB High Roof
Conversion Time: 30 days (12 hour days with 2+ people)
Gas Milage: 600 kms per tank - $100 CAD to fill up tank


Insulation
HARD INSULATION - We used hard insulation for the floor (between the 2/3s) and on the ceiling. I found it to be the best option for the floor and the ceiling especially when cut properly, it stuck really well to where it needed to go.
ROCK WOOL - Used to line the sides of the van and little sneaky areas. Rock Wool was a great option for the sidewalls because every little nook and cranny could be filled in and it seems to be working great because the van feels super insulated.
REFLECTIX - Used to cover most of the walls/ceiling after all other insulation was put in. We decided to put Reflectix everywhere to cover up the Rockwool and seal off any spaces that air could be coming in. I'm really glad we did because the van is holding in the cold air in the summer really well.
SPRAY FOAM - We used the hand-held spray foam in little areas that we couldn't put any other type of insulation into. This was a great thing to do for this van conversion because it's super insulated and keeps the cool/hot air inside the van.


Framing
VERTICAL SLATS FOR FRAMING
Within the sidewalls of the van, we constructed a thick and strong verticle board of wood with 2/3's and used rivnuts to screw them into the sidewalls of the van. This was a great choice because as we put up the pine slats, there is now so much more support than there would have been without them. While laying on my bed, I can lean against the wall and feel completely secure because of these vertical slats we made. These stability slats were a great addition to this van conversion.
FLOOR FRAMING
For the floor framing, we used 2/3's within the groves of the van structure and spread them out as evenly as we could. Check out the slideshow to the left for photos of this. This frame is not screwed into the van structure, but it is very snug and won't be going anywhere especially with all the wood/structures were going to add onto it. We then added a couple pieces of 5/8 plywood on the whole flooring structure and screwed it into the 2/3's.
ROOF FRAMING
The van already had beams going across the roof, so we used rivnuts and bolted the cut plywood - we used plywood because 2/3's wouldn't bend enough - we found the plywood to bend nicely and be strong enough. This way the finishing pine slats had something sturdy to be screwed to.
KITCHEN FRAMING
For all the structure in the kitchen, we used 2/3's. For the structure in the bed area, we used 2/4's. We figured using a stronger structure for the bed area was a good idea and it all seems to be working great.


Windows/Vents
ROOF VENT
I got a fantastic fan and it's absolutely amazing. It has a way option and 3 speeds each way. I'm finding it very useful when I want to cook and blow the air out of the van and when it's warm I can bring the air into the van. Definitely very happy with that purchase!
SIDE WINDOW
The CR Lawrence window is awesome! it's really good quality and works perfectly. There is also a little slider screen door that is able to be opened to create some awesome airflow. The Window that I purchased is actually not being made any longer, however, If I was to do it again, I would definitely purchase the FORD window instead of an aftermarket one.
I really wanted a Dometic Heki (sunroof), and If you're in Europe you should TOTALLY get one of these. Unfortunately, they don't sell them over here, I looked everywhere.
HEATING
We recently got an Espar Gasoline Heater hooked up and are absolutely loving it so much! It is definitely an experienced endeavor, but I promise you it's worth it and I would say it's necessary!


Walls
After framing and insulating with Reflectix, I stained some pine tongue and grove slats and put them on the sidewalls and roof of the van. Two layers of cherrywood stain and a top coat and these slats looked beautiful! On the other half of the van, we used a thin wood board and screwed it into the supporting framing. Most of the driver's side of the van was covered by structures such as cupboards and the kitchen area, so not much was seen behind there.
The structure between the cab and the back of the van is made with an MDF board cut to shape to fit around the corners of the van. Very happy we used this compared to plywood as the MDF is much sturdier and not slightly bent like the plywood.


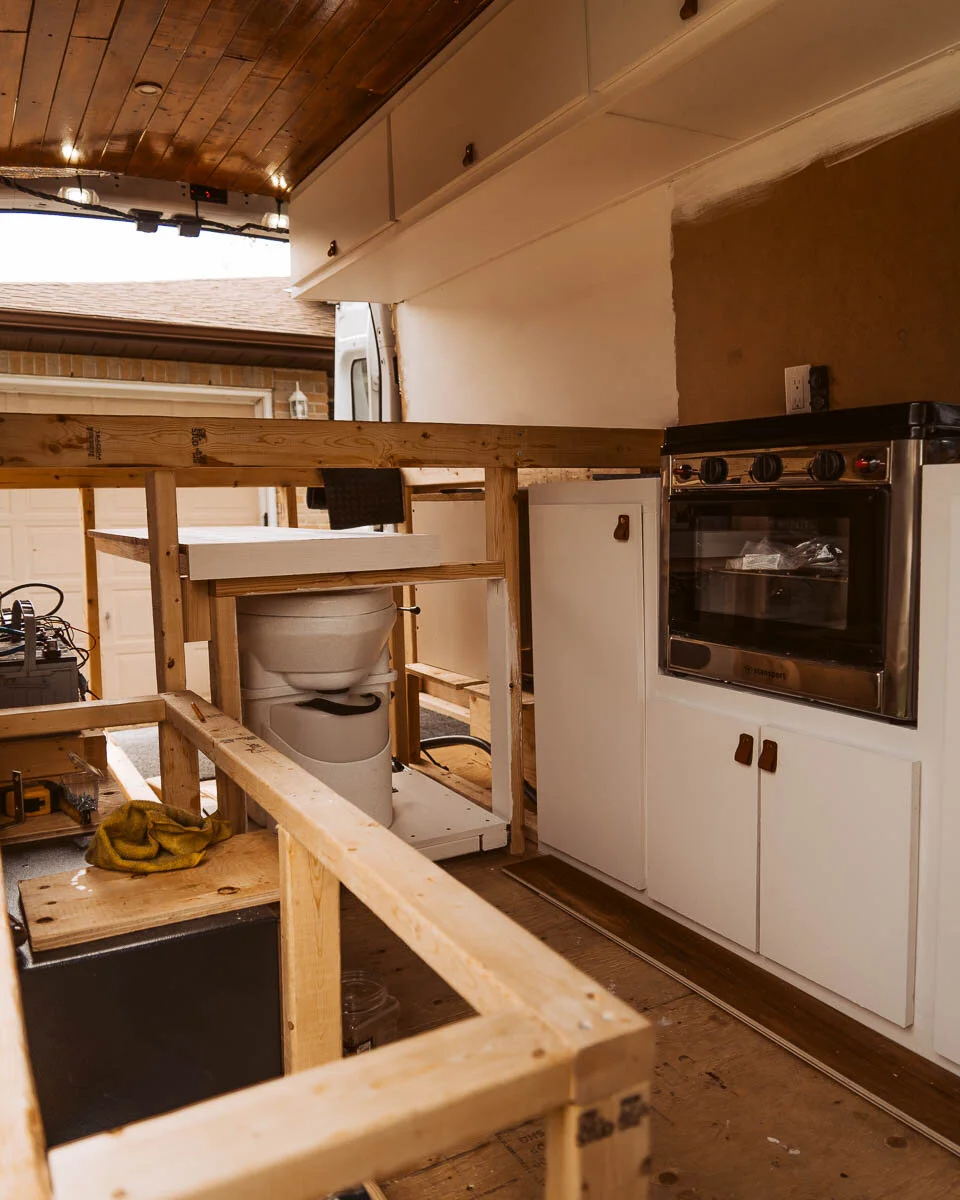
Structures
I've read so many different layouts and van plans, but after living in a van before, I knew what I wanted. If you're looking at weight, you really don't want all the weight on one side of the van, even though that's what everyone is doing because it's aesthetic. I totally went that route because it does look really nice. We tried to even out the weight by putting the batteries under the bed on one side, but realistically all the weight is on the driver's side.
I would definitely suggest measuring and drawing on the plywood on the ground to figure out where you want things to go and how big. I built my bench with the intention of putting the toilet inside the bench, but after actually building it. the dimensions were not going to work and I would have no walking space. So alterations had to be made and the toilet ended up going under the bed as a slider toilet. For your reference, I don't think nature's head toilet is small enough to go under a bench, so don't bother trying! Unless you want a massive bench and no walking space.
Also, plan for any activity items such as a bicycle and snowboard to fit in. There was just enough space between the wheel well and the toilet for the bicycle to fit between. And on the other side, just enough space for my snowboard to slide under.
SLIDING TABLE
For the sliding table, we used 27-inch rollers, with a slab of pine that I stained and built a front face with a little leather knob. It was a bit tricky getting it to flow smoothly, but with standing 2/3's under the table structure it seems to be holding up well, even with some weight put on to the table.


Toilet
I looked into so many different toilets for this van conversion but came to the conclusion that Nature's Head Toilet was worth the money. From having a toilet before that I used to have to change all the time and it was really gross and messy. Nature's Head Toilet is so simple to change and less frequently and I would highly recommend it. I only have to dispose of the pee once a week because I have 2 buckets, and the other waste is composting with Sphagnum Peatmoss and needs to be changed every few months.
The toilet is built on 2/3's in the shape of a square, with plywood on top. There are 4 wheels under the wood structure and 18-inch sliders allowing it to roll back and forth. The toilet stays in the while I drive and step on the breaks because we installed baby locking system locks on most doors so they wouldn't open while I drive.


Faucet
I wanted this van to look very rustic chic and what would be better than a gold faucet! I am so happy with this addition and the fact that it's a large faucet that has a spray nozzle.
Oven
I used to have a stovetop in my old van, and I really missed making cookies and pizza. So this time I researched an oven option and found an awesome one! The Stansport Oven is honestly amazing. I've made pizzas, cookies, and some baked fish and can definitely say it’s a great oven for a van!
Countertop
This is my favorite thing about my van conversion and it definitely took the most time. I bought a raw slice of elmwood and sanded it over a few days, cut it to length, and then fit it on the counter where it would go. It was kind of tricky to cut the holes for the sink and stove perfectly, but we definitely did a great job! We put 3 coats of epoxy on top of the counter. One thing to note, don't use mineral oil after sanding to see how nice of a piece of wood you have, because the epoxy does not like the mineral oil. Thankfully we were able to save it and by adding more epoxy it wasn't obvious that there were gaps. Next time, no mineral oil! Sanding and using acetone between coats of epoxy is a good idea!


Water System
I have two 15 gallon water tanks both mounted under the van. My water pump is the Shurflo. The water inlet from outside the van is great and easy to fill up the water. I have a water heater mounted at the back of the van so I can have showers.
I fill up the water from the outside of the van, it flows down through the van, to the water tank underneath the van. Once I turn the pump on, cold water comes up from the tap, and the warm water heads to the water tank and heats it up and then brings it to the tap. The drain flows under the van to the grey water tank underneath the van. Once I'm ready to dispose of the water, I have a valve that opens up and easily drains the water out.
So far this system for my van conversion is working really well and I'm getting hot water to wash my dishes and have a shower. I was hesitant about putting the water tanks under the van because it's quite tricky to put them up there and we had a bit of a hard time, but after putting them up and realizing how much extra space is in the garage under the bed, I'm really thankful we put them under the van! I definitely suggest putting them under the van if you can.


Electrical
SOLAR PANELS
I have three 100 watt solar panels mounted on the roof of the van. For this van conversion, there is no roof rack, they are mounted directly on the van with a bunch of caulking around the holes. I chose the MPPT charge controller because after reading a bunch of reviews, that was clearly the way to go. I'm not an electrician and I won't try to explain the difference, but it's a no brainer to go with the MPPT if you're carrying larger loads like fridges and such.
BATTERIES
I have 2 Lithium Batteries with 100 amp hour. After installing these batteries and living in the van for a couple of months, I definitely don't have enough battery bank, especially for my large electricity volume my fridge needs. I'll be buying at least one more battery and getting an alternator battery charging setup. (Through Dakota Lithium, we have a discount code “benandnikki”)
ACCESSORIES
I got myself a fuse panel, a 1000 watt inverter, and a pico battery monitoring system. I'm really happy that I got the monitoring system so I can figure out what's going on with the electricity. It tells me where the batteries are at, the water tanks, and how much solar energy is coming in!

Propane System
For this van conversion, I tried so hard to figure out a system where I only needed one propane tank that could be split for 2 different ways (gas heater and oven). I couldn't find any attachments that would fit correctly, because it needed a double stage regulator and the proper fittings (which is much harder than you'd think to find). So I gave up and got another propane tank. I have 2 propane tanks, one going to the water heater and one going to the oven. So far it seems to be working well.
Heating System
For heating, we have just recently installed an Espar Gasoline Heater and have been absolutely loving it! It's definitely worth the investment to be comfortable every night!
Fridge
I decided to go with a 3-way fridge (dc, ac, and propane) because we wanted the fridge to mainly run off propane. It’s stressful when you have to watch your power usage in a van, so we opted for the propane. It costs around $18 a month to run the fridge, but this hassle is much preferred over constantly monitoring our usage.
Alternator Charging
I originally decided against this method of charging because I didn't want the living space electrical of the van to interfere with the actual van. But after having electrical shortage issues because of my fridge, I'll be installing an alternator charging setup in the next coming month so that my fridge can stay on at all times. And also installing a propane setup for the fridge. The build continues as I tweak certain things to make it the perfect sustainable living space for myself!

Lighting
There are a few different kinds of lighting that we installed. Pot lights x 2, strip lights, outdoor lights, and a small light in the garage. It's really nice to have the pot lights under the counter because it lights up the counter space when cooking, and we also installed pot lights along with the van ceiling. It lights up the area so well!
My favorite is the strip lights because they can be any color you want and different brightness' which can make the van very cozy. Unfortunately, Frankie ate the remote so I had to order a new remote. The lesson of the day, velcro the remote somewhere so Frankie can't eat it.


Finishing Touches
Glass Jars - The glass jars are another awesome finishing touch that everyone seems to love. It really makes the van because it's practical and is so beautiful. I love the different colors of the spices and how they match the van, and the best part is that I can eat them! Mixing practicality and aesthetic vibes.
Leather door pulls - These door pulls are so beautiful and are really cute finishing touch to the van. Definitely, suggest putting effort into the finishing touches of your van conversion because it really makes all the difference.
Duvet - My duvet cover is a nice white linen Queen duvet I find the white makes the space brighter and I'm not having issues keeping it clean. I'm just being very mindful of not jumping on my bed when my feet are dirty.
Bed - I bought a Queen 6-inch foam mattress off amazon and am loving it! Earlier in the year I bought a brand new bed that I thought was memory foam but turned out to be a 12-inch tall spring bed. Unfortunately, I wasn't able to use it and had to get another bed. All is well and I'm loving my cozy bed!
Pillows - I found some awesome pillows at the thrift store that I've had for a while, and my longer pillow fit very nicely as a backrest for the bench area!
Tiles - I did a poll on Instagram on which tiles I should choose and everyone chose the hexagon tiles. So I went with it! I used a SimpleMat backing to stick the glass tiles to the wall and a polyurethane grout because it was the most flexible grout I could find.
Mirror - I found this mirror at a vintage store and couldn't leave it there! Some people on Instagram were worried it would fall and break, but we screwed through the mirror into the MDF and it isn't going anywhere!

Flooring
For this van conversion, it probably would have been easier to put vinyl flooring and cut it to fit. But I really wanted this beautiful wood flooring that was quick-connect. Really happy with the result of the flooring and it's keeping up great and looks fabulous!
One thing to mention, I noticed that many vans have put the flooring down on the entire van floor and then built structures on top of it. I decided to go with a pricy flooring that cost $80 a box, so putting flooring down where it wasn't needed was not something I was interested in. Fortunately, we needed one box exactly to cover the floor space I had. But I think saving money on not putting the flooring everywhere is a good idea.

Garage Area
The reason for my bed being so high was because I really wanted to bring my mountain bike with me. So we fit it perfectly so my mountain bike could fit underneath my bed with a bike mount. There is so much storage space under my bed it's amazing. One bike, 2 propane tanks (maybe 3 soon), the water heater is at the back of the van and there is a bunch of free space for warmer clothing and random things. Very happy with how the garage turned out. I left it looking like plywood because I knew I would be showering and could damage the wood with the water if I stained it.
We also installed a little light in the garage so that when it's dark I could still see if I needed to get in there.
Shower
Yes! I have an outdoor shower. I thought this was a great idea because the water heater was already going to be positioned outside of the van, and having a shower there would be perfect. It's definitely saved me a few times when I couldn't find a shower anywhere. The shower is attached to my Gasland Water Heater.


Thanks so much for checking out my van conversion blog post. I wanted to make this post very helpful to anyone looking to build a van themselves and to look at it as a guide. If you have any questions or think I missed a section you'd like me to talk about, please comment below or send me an email.